

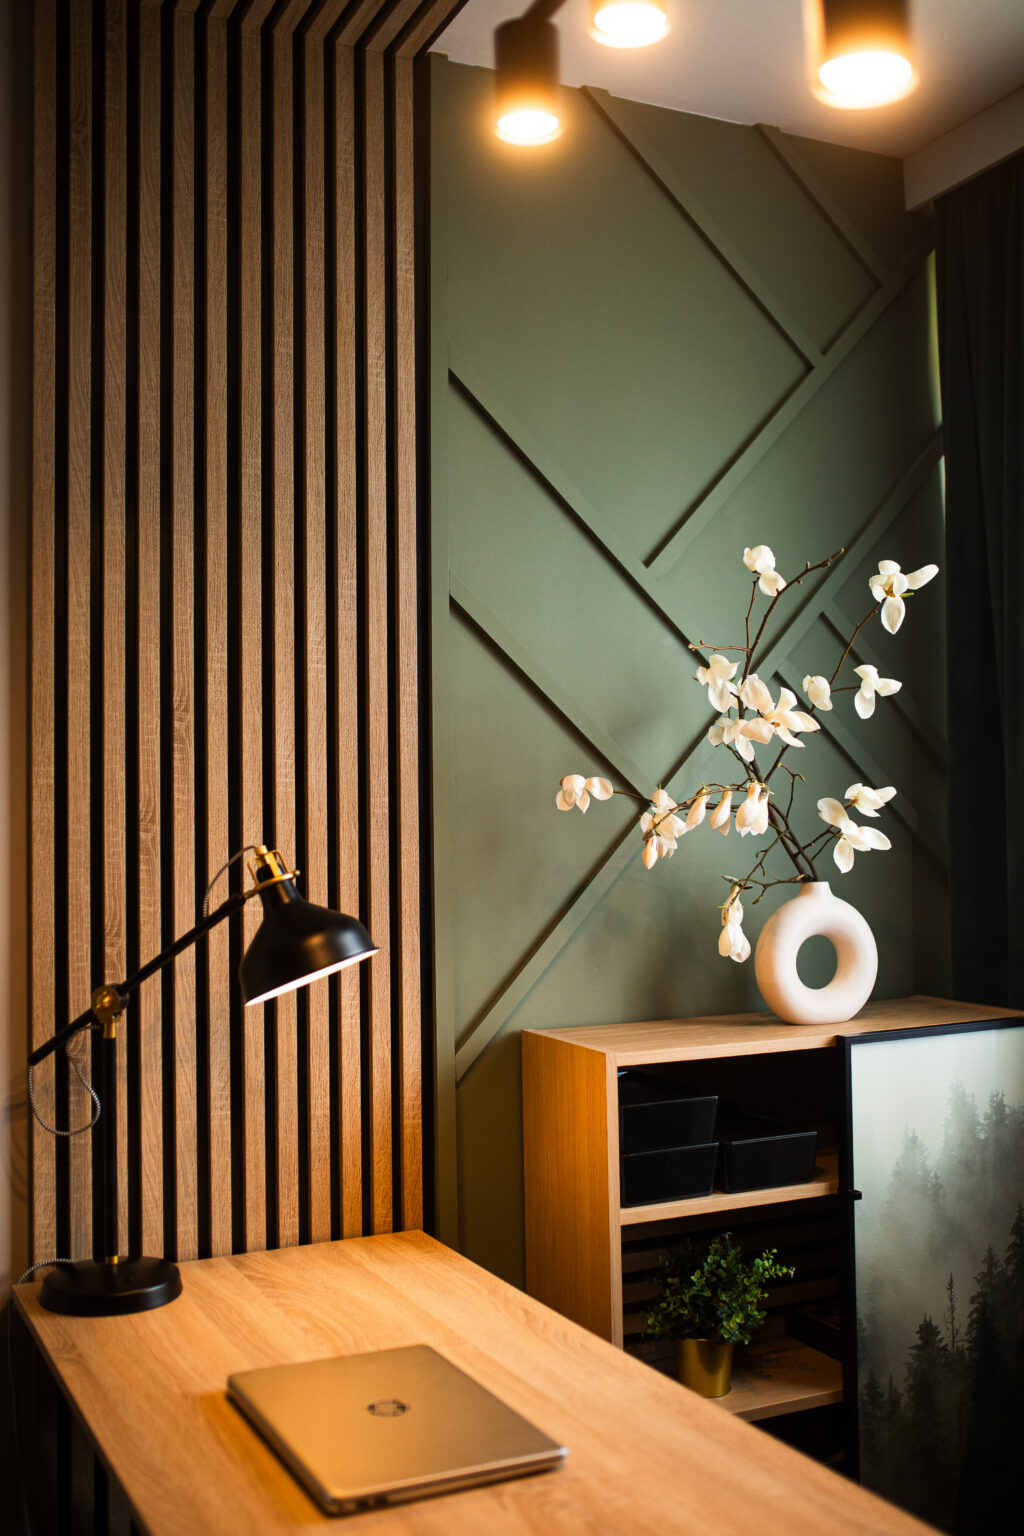
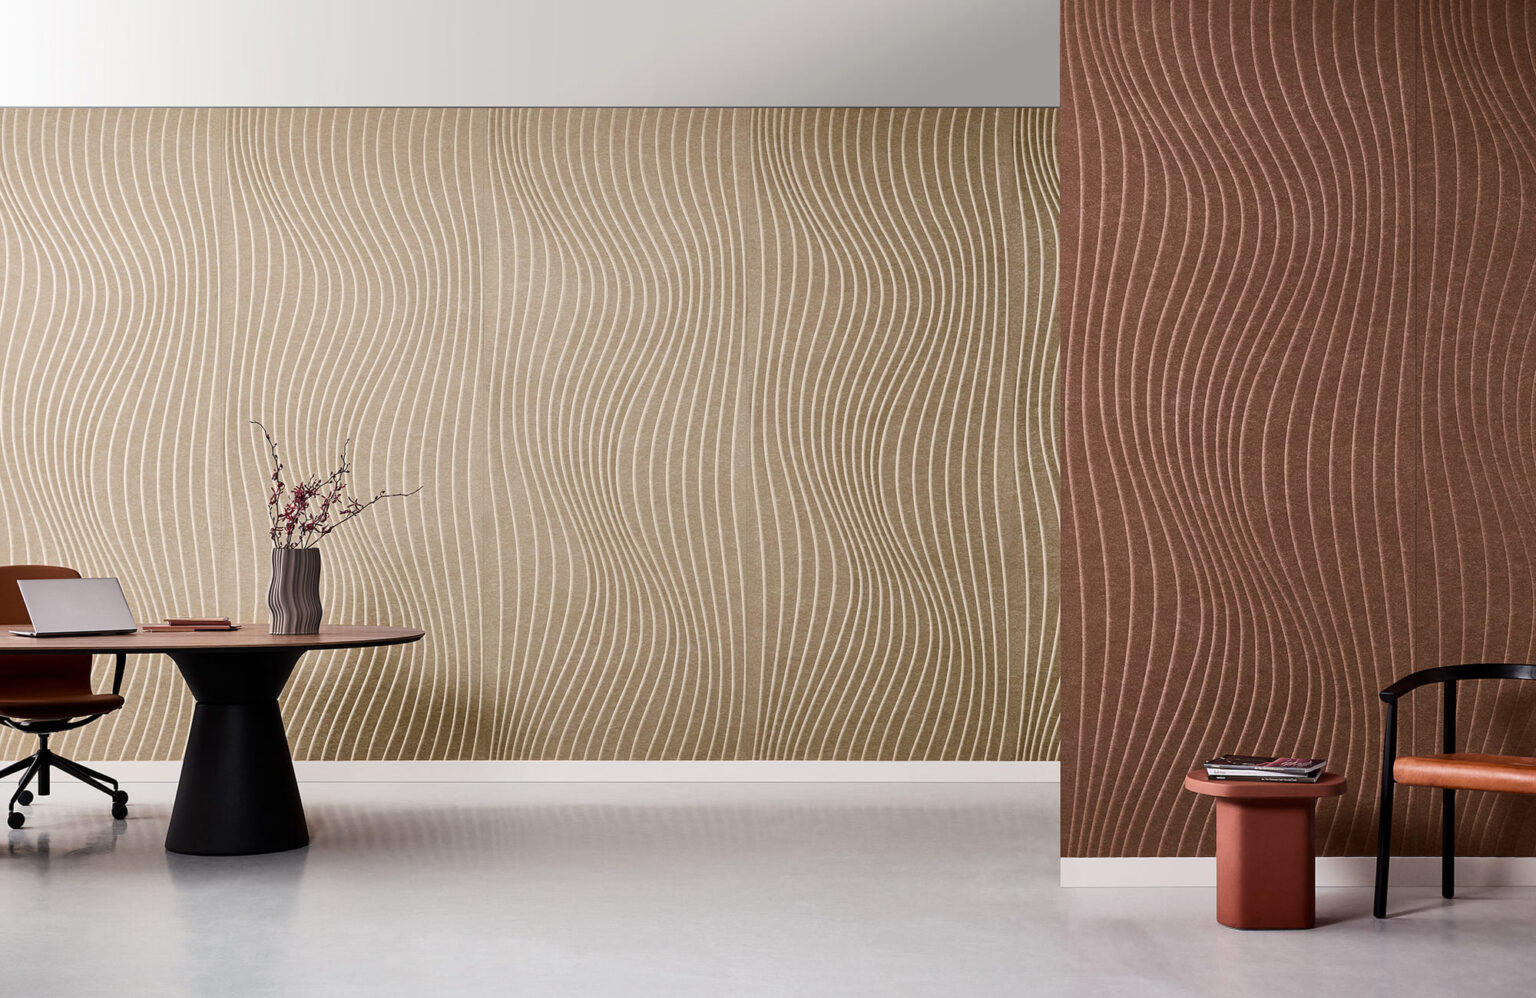
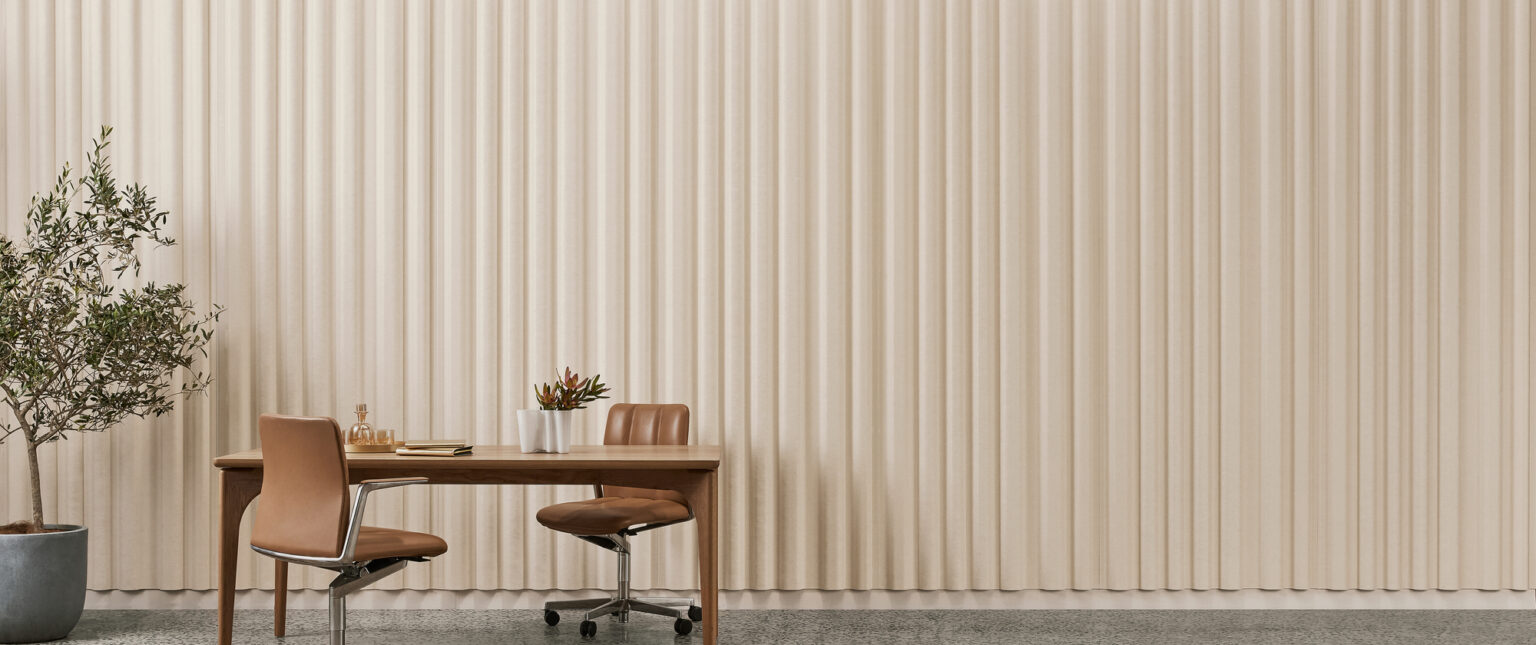


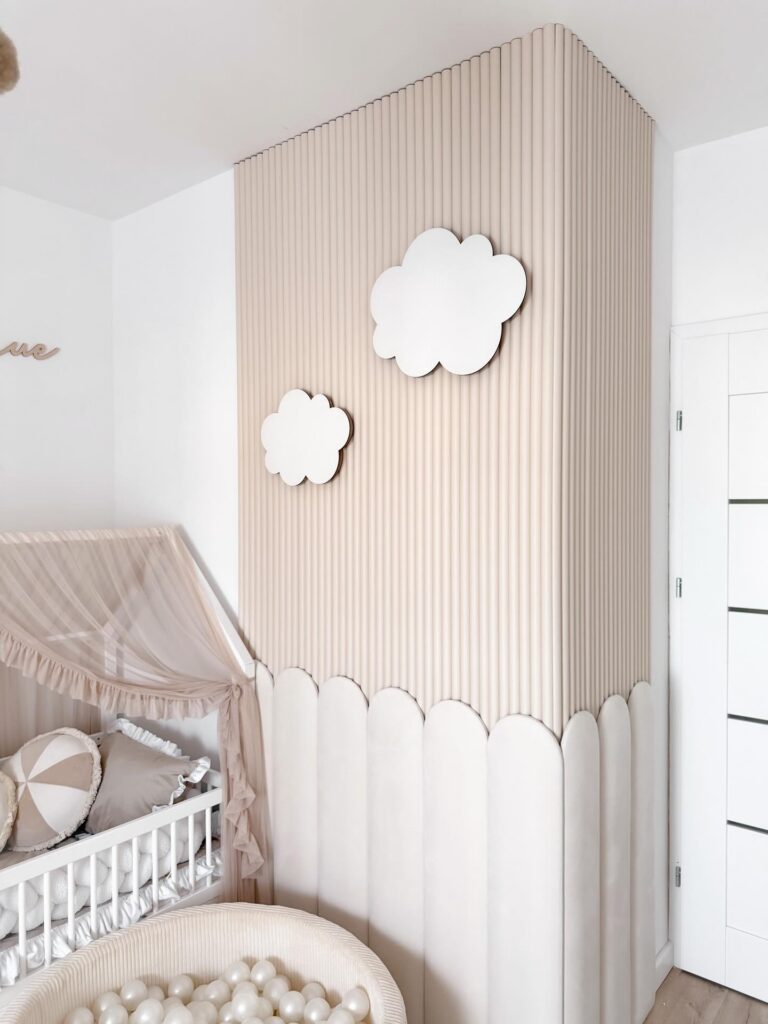
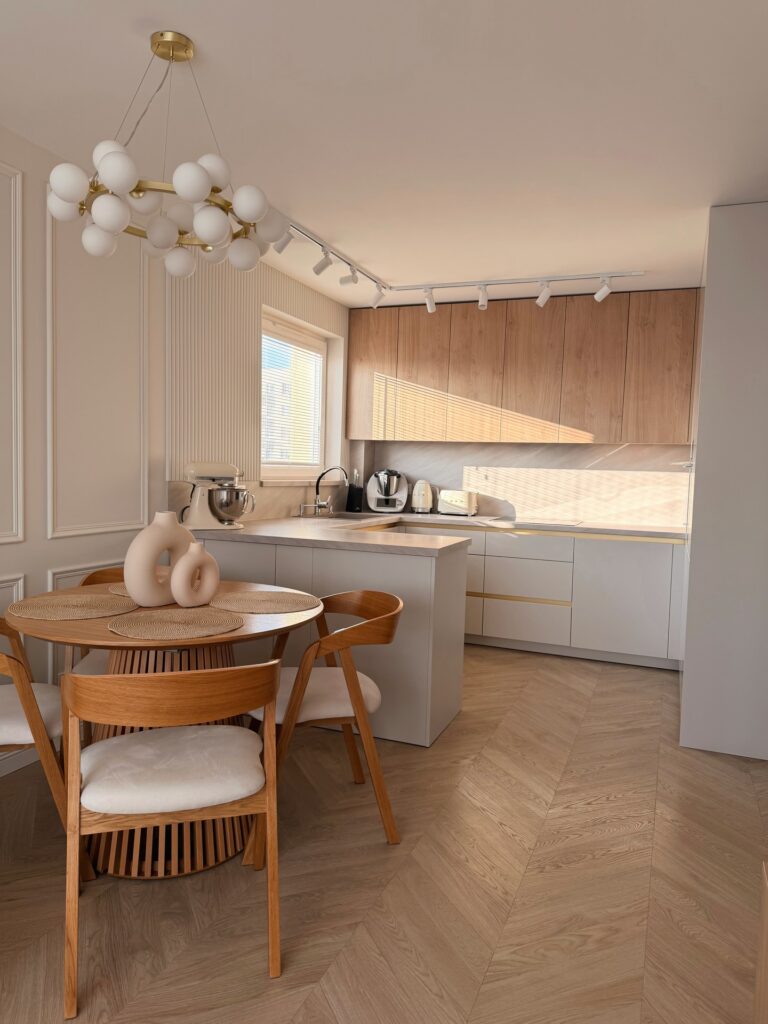
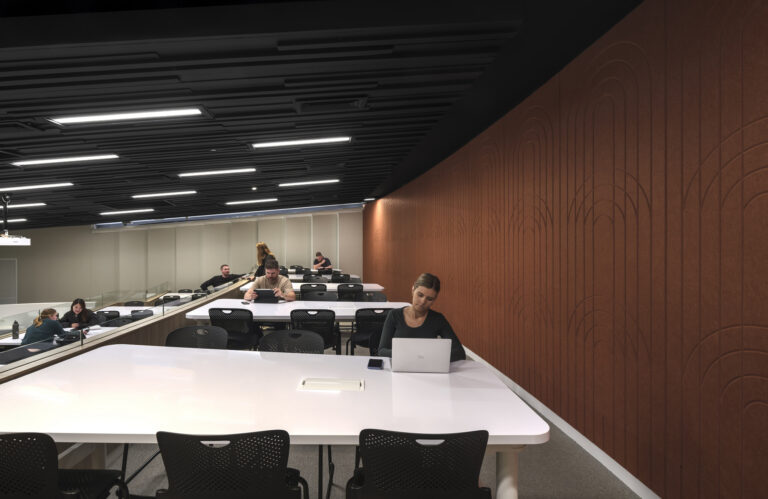
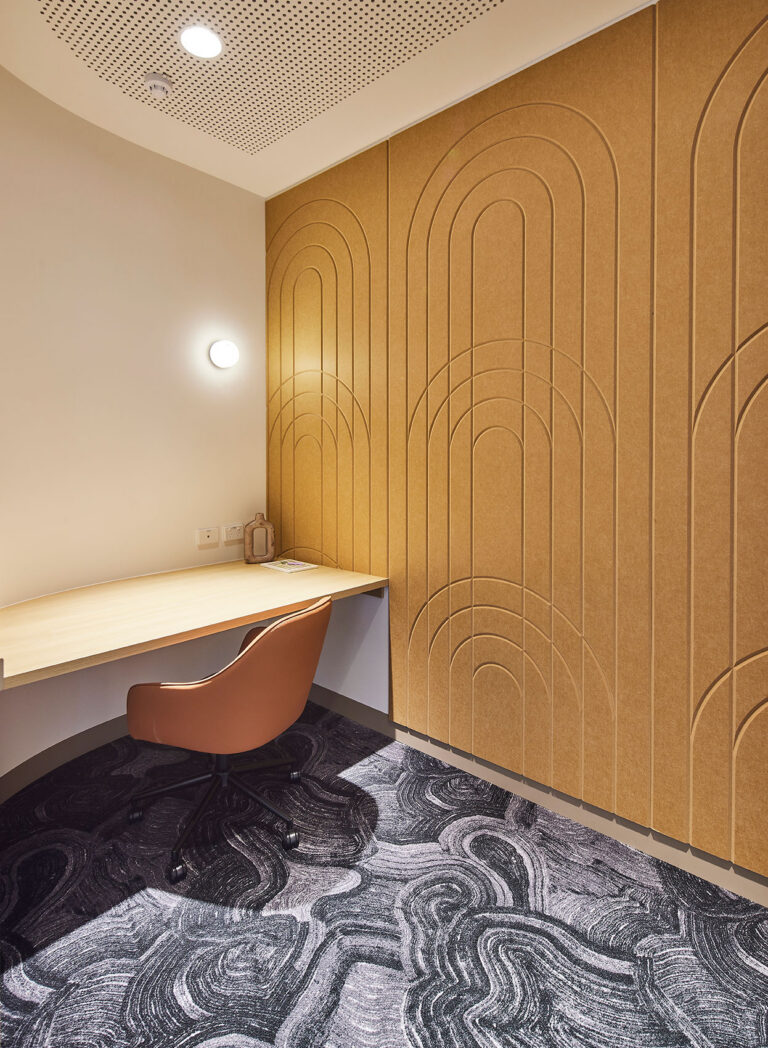

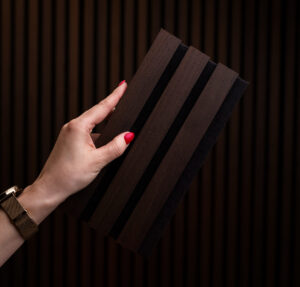
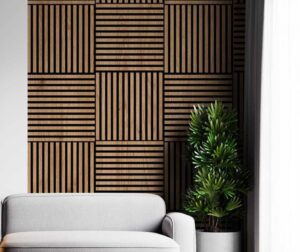

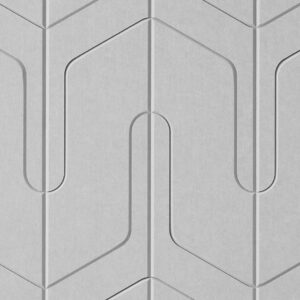

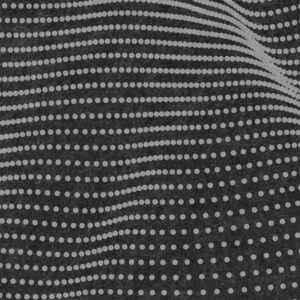

Installing acoustic panels is easier than it first seems. A slat panel is cut to size with a saw and fixed directly to the wall with construction adhesive, and with screws as well on the ceiling. You usually don't need a builder. In this guide we go through the whole installation of slat panels from preparation to the last panel, and answer the questions that come up with TV walls, LED lighting, sockets and bathrooms.
Wooden acoustic panels are most often installed in the living room behind the TV or sofa, and in the bedroom behind the headboard. This guide applies to Helix MDF ribipaneelidele, puitspooniga ribipaneelidele, 3D ribipaneelidele and soonpaneelidele. The specifics of PET felt wall panels are covered separately at the end.
In short
- Let the panels sit in the same room for at least 48 hours before installation.
- The wall must be clean, dry and load-bearing.
- Cut the panel to the wall height with a fine-toothed saw.
- Apply construction adhesive in strips on the felt and press the panel onto the wall.
- Check the first panel with a spirit level, because all the following ones line up with it.
- On the ceiling and on uneven walls, use screws as well as adhesive.
Mida ribipaneelide paigalduseks vaja on
- Fine-toothed saw: hand saw, jigsaw or circular saw
- Construction adhesive and a caulking gun, or strong double-sided mounting tape
- Spirit level (at least 60 cm), tape measure, pencil and masking tape
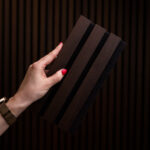
- Sharp knife for cutting the felt
- For ceilings and uneven walls: cordless drill, black screws and wall plugs
One tube of construction adhesive is enough for about three full-length MDF Premium ribipaneelile. You need few tools you don't already have at home. A saw and a spirit level are usually enough.
Enne paigaldust: kolm asja, mis otsustavad tulemuse
Lase paneelidel ruumiga harjuda
MDF and wood react to temperature and humidity. Bring the packs into the room where the panels will go, open the packaging and let the panels lie flat for at least 48 hours. That way no gaps or warping will appear between the panels later.
Prepare the wall
Construction adhesive bonds well to painted plaster, plasterboard and concrete. The wall must be clean, dry and free of dust. We don't recommend gluing panels onto wallpaper, because then the panel holds only as well as the wallpaper sticks to the wall. Before you start, mark the positions of cables and pipes so you don't drill into them.
Plan the layout and quantity
Measure the wall width and divide it by the panel width. The MDF Premium panel is 30 cm wide and 275 cm long, the fluted panel 14,5 cm wide and the 3D panel 60 × 60 cm. If the last panel would be very narrow, shift the starting point so that both ends get a piece of the same width. That way the wall looks symmetrical.
Example: a wall 3 m wide and 2,6 m high with MDF Premium panels. 300 cm : 30 cm = 10 panels. The panel is 275 cm long, so one panel covers the full wall height and 15 cm is left over when cut. The calculator on the product page works out the exact quantity, and you can tick a box to add a 5% reserve for cutting.
Ribipaneeli paigaldus nelja sammuga
1. Measure and cut
Measure the wall height in at least two places, because the floor and ceiling are not always parallel. Always cut the panel from one end so the other end keeps its factory edge. Put masking tape on the cutting line for a cleaner edge. With a hand saw, cut with the face side up; with a jigsaw or circular saw, face side down, because their teeth cut upwards.
2. Apply the adhesive
Apply construction adhesive in strips to the back of the panel directly onto the felt, including near the ends. You don't need much adhesive, but it should be spread along the whole length.
3. Press the panel onto the wall and check it with a spirit level
Place the first panel in position and press it firmly against the wall along its whole length. Check with a spirit level that the panel is exactly plumb. This is the most important moment of the whole job: if the first panel is crooked, all the following ones will be too.
4. Repeat
Place the next panel beside the previous one so that the gap between the slats is the same as within the panel, and press it onto the wall. Check with the spirit level every couple of panels. You can adjust the width of the last panel by cutting through the felt between the slats with a knife.
Millal kasutada kruvisid
On a flat wall, construction adhesive is usually enough. Use screws as well when:
- you install the panels on the ceiling;
- the wall is uneven and the panel doesn't rest on it everywhere;
- you fix the panels to timber battens;
- you want to be able to remove the panels easily later, for example in a rented flat.
Screw between the slats through the felt so the screw head sinks into the felt and isn't visible. Use black screws, and wall plugs in concrete and brick. Don't overtighten: the head should sit flush with the felt.
Paigaldus roovitusele: parem akustika
If the wall is very uneven or you want the panel to absorb lower sounds better too, fix the panels to timber battens and put mineral wool between the battens. An air gap behind the panel also helps absorb bass, which a thin panel directly on the wall doesn't absorb well. We explain why in the article about the difference between sound dampening, sound insulation and echo removal.
The last panel, corners and edges
At the end of the wall, cut the last panel to fit between the slats with a knife. If the wall ends at an outside corner, leave a slat at the edge rather than felt, so the corner looks finished. MDF Premium slats are laminated on all four sides, so the slat edge is the same colour when seen from the side.
Sockets and switches
Switch off the power at the fuse box before you start. Remove the socket or switch cover, mark its position on the panel and cut the opening: the felt with a knife, the slats with a jigsaw or hole saw. The panel makes the wall about 2–2,5 cm thicker, so the socket has to be brought flush with the panel surface with an extension frame or a deeper box. Have an electrician do this.
A TV wall with slat panels
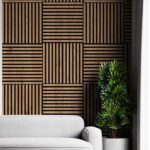
The wall behind the TV is one of the most popular places for slat panels. The vertical slats frame the TV and the felt absorbs the sound from the speakers bouncing off the wall. Think these through before installation:
- Decide the TV height and bracket position before you put the first panel on the wall.
- Fix the bracket through the panel into the wall, not only to the panel. Use screws and wall plugs that are longer by the thickness of the panel.
- Hide the cables inside the wall or in a cable duct behind the panel before installation.
- If the wall will also have lighting, run the cables at the same time.
Soonpaneel and 3D ribipaneel give the TV wall more play of shadow, MDF Premium a calmer vertical rhythm.
Slat panel lighting: LED behind and beside the panel
Slat panels and light go well together, because the slats create lines of shadow on the wall. The most common solutions are:
- an LED strip behind the top edge of the panel that washes the wall from above;
- recessed ceiling lights close to the wall that bring out the rhythm of the slats;
- an LED profile between the panels or at the edge of the wall.
Use a low-voltage (12 V or 24 V) LED strip and put the power supply where you can reach it later. Plan the cables before installing the panels.
Slat panel in the bathroom: is it OK?
MDF and wood veneer cannot withstand direct water or constant humidity. From our range, the Artisan oak colour is suitable for bathrooms. Even then, install the panel where water doesn't splash directly, not in the shower corner or above the bath, and make sure the bathroom is well ventilated.
Tips by product
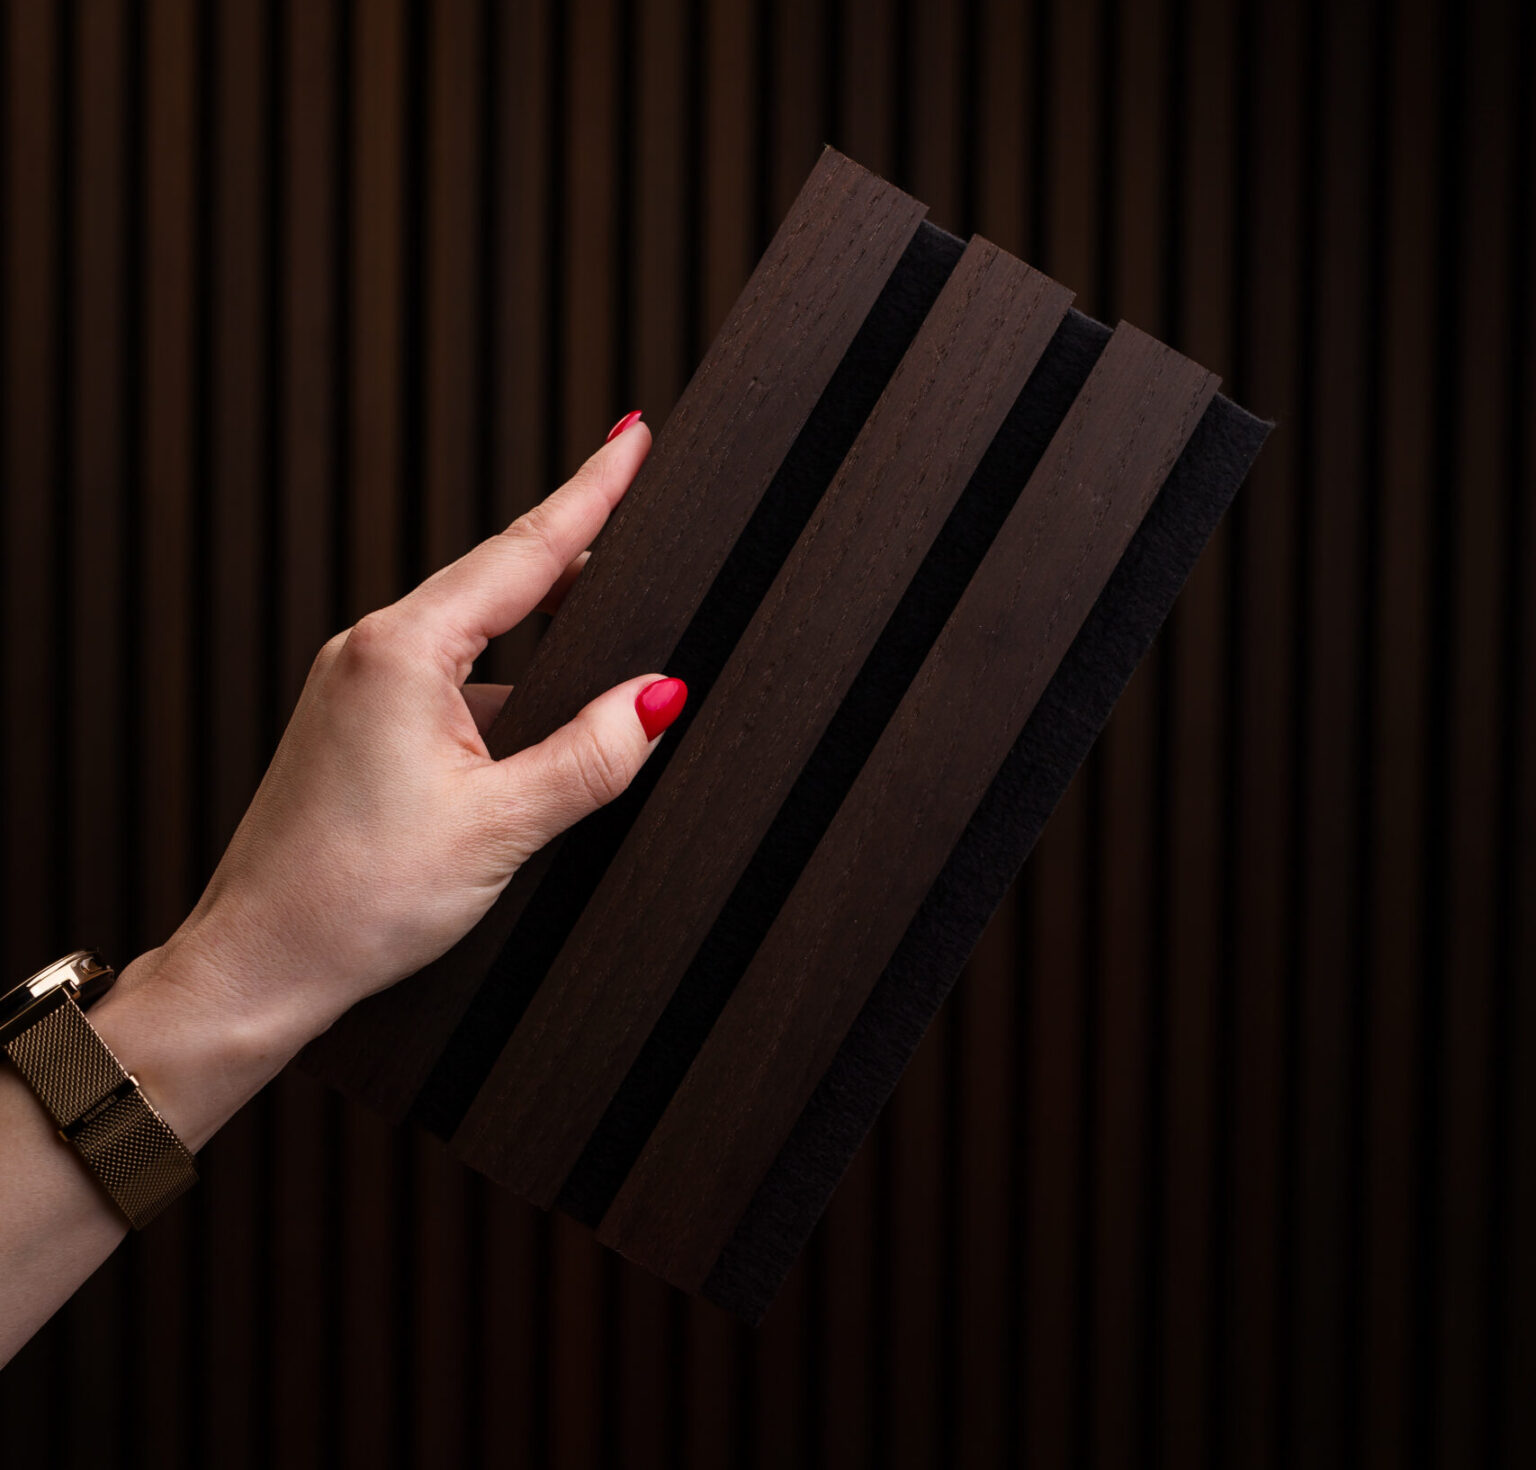
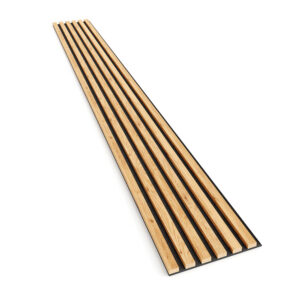
MDF Premium slat panel
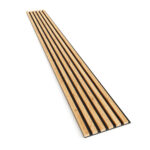
The panel is 30 × 275 cm and the slats are on 8 mm felt. Construction adhesive is enough on the wall; add screws on the ceiling. One tube of adhesive is enough for about three panels.
Puitspooniga ribipaneel (spooniga seinapaneel)
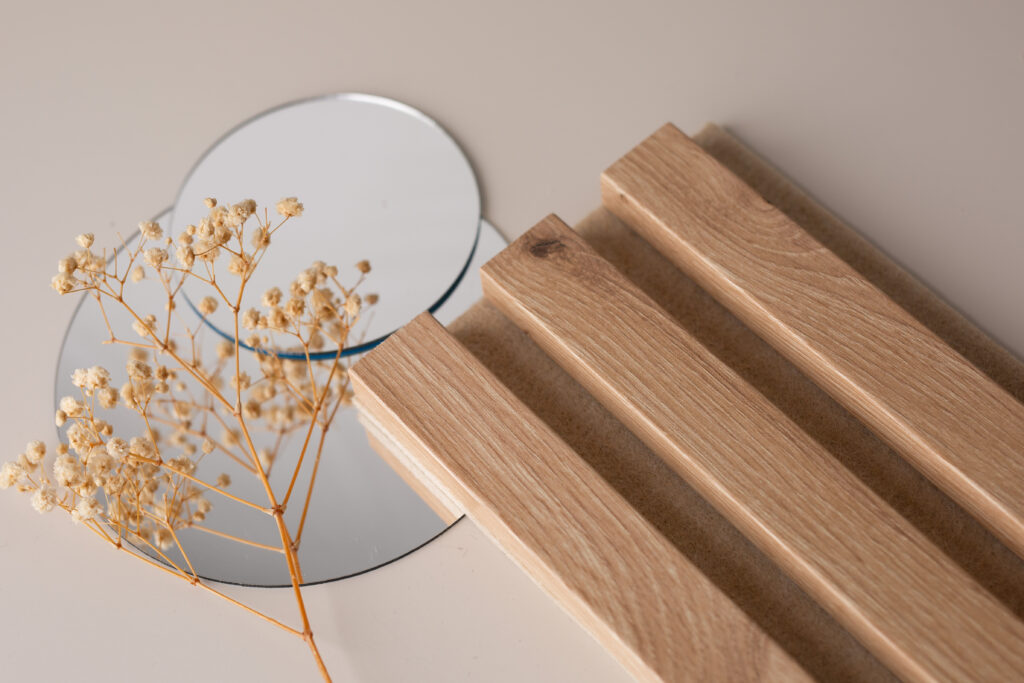
Real wood veneer gives every slat its own grain. Lay the panels out on the floor before gluing and choose the order that looks most even on the wall. The veneer is untreated, so handle the panels with clean hands. Available sizes are 28 × 280, 60 × 240, 60 × 280 and 60 × 60 cm.
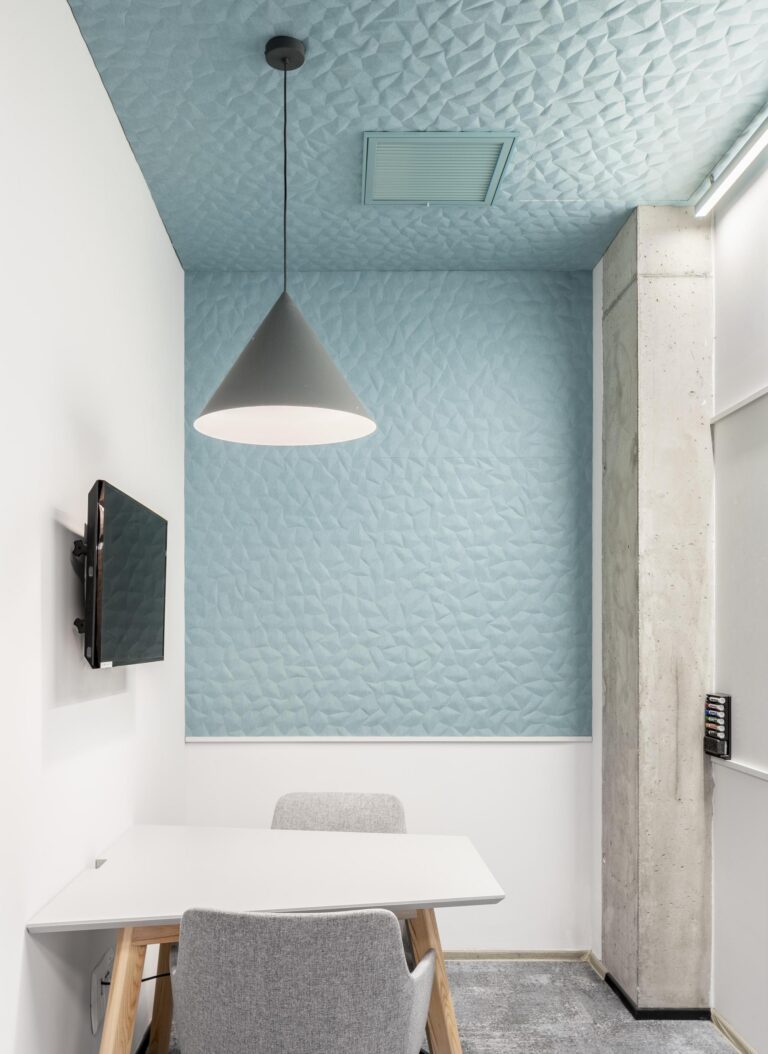
3D acoustic slat panel
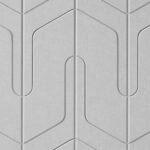
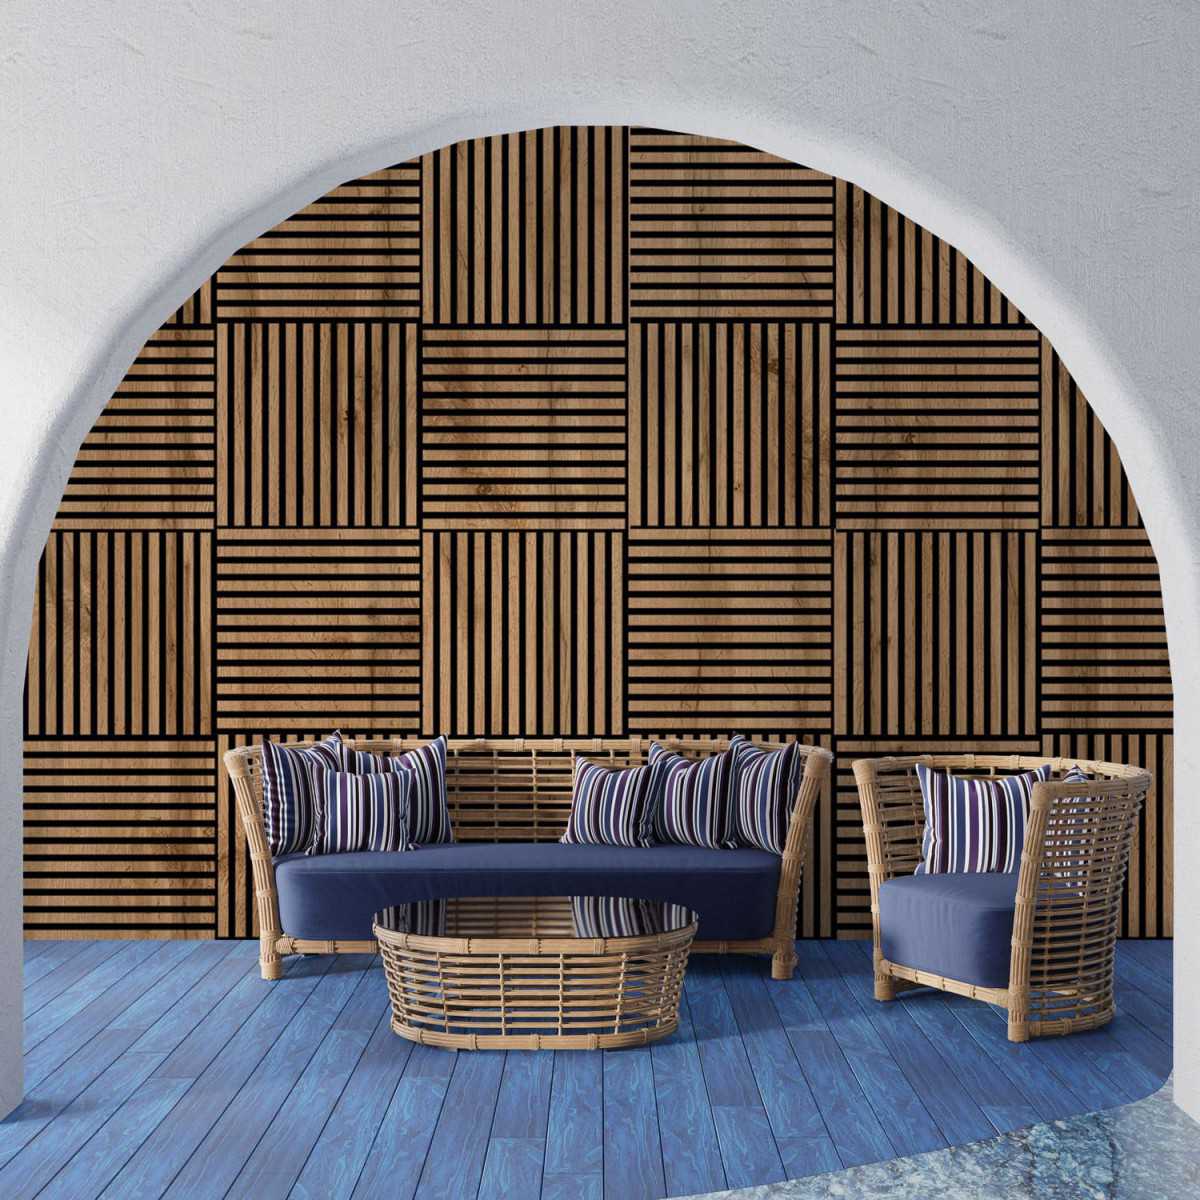
60 × 60 cm panel weighs about 3 kg and can be rotated any way you like. Lay out the pattern on the floor before installation and draw a centre or base line on the wall with a spirit level to start from.
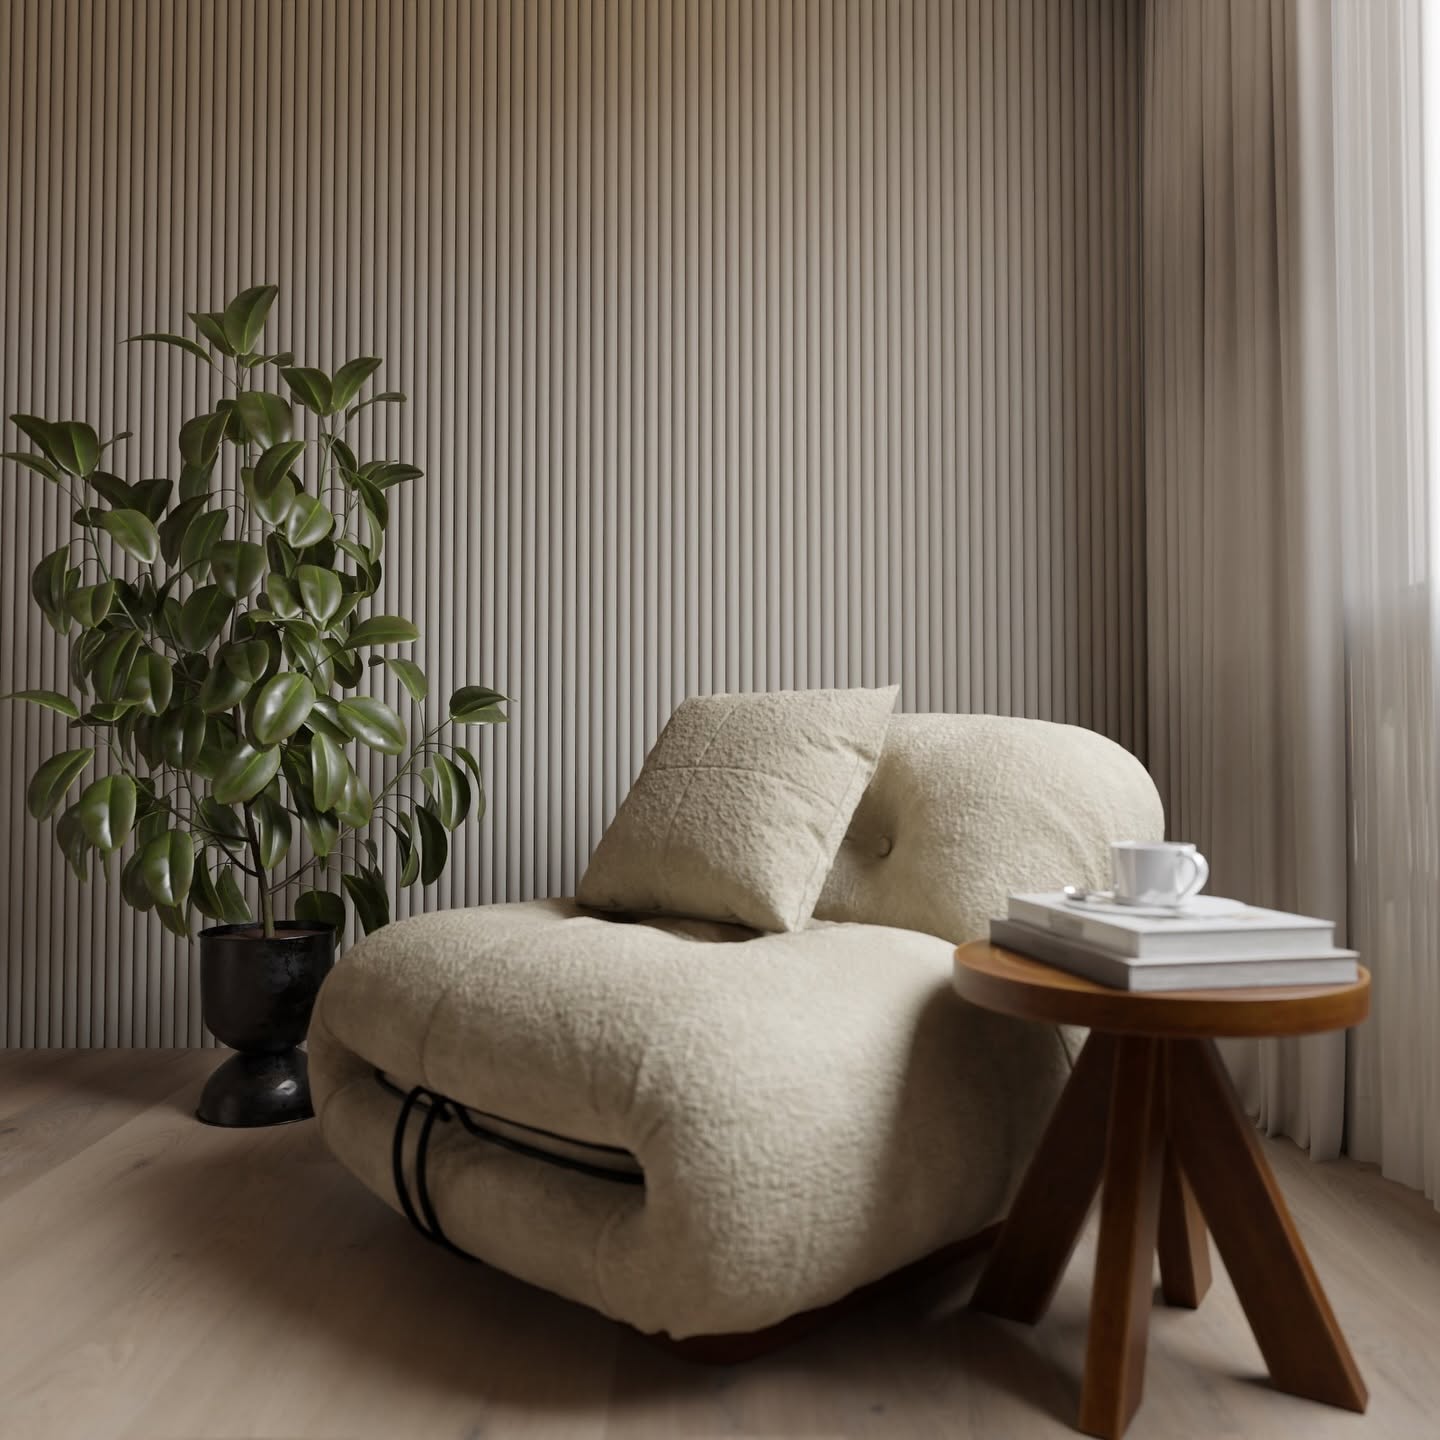
Acoustic grooved panel
The fluted panel is glued directly to the wall. It can be bent around a curved surface, for example a table or a column.
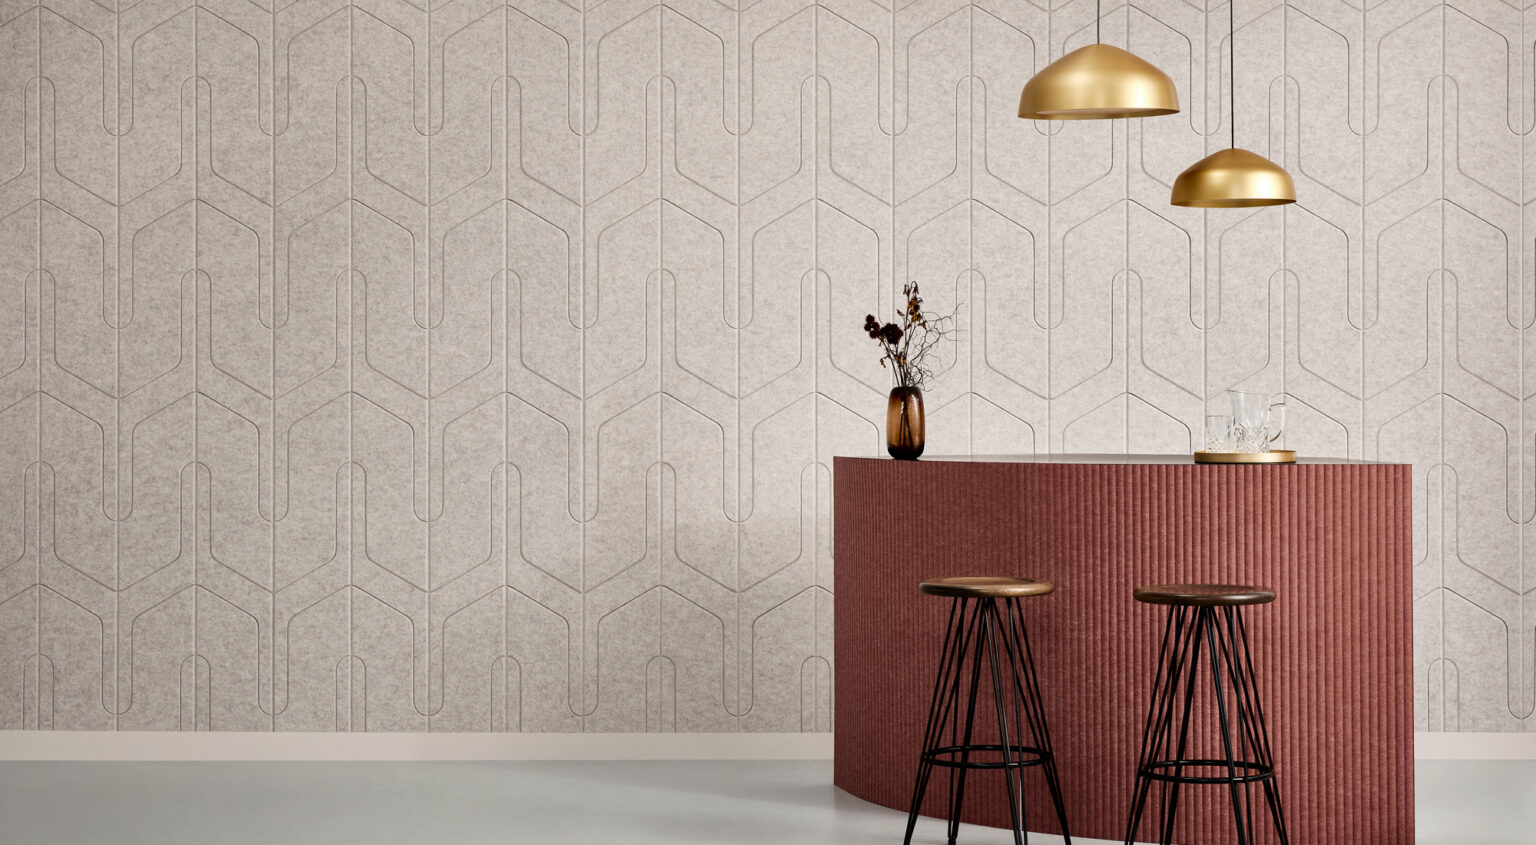
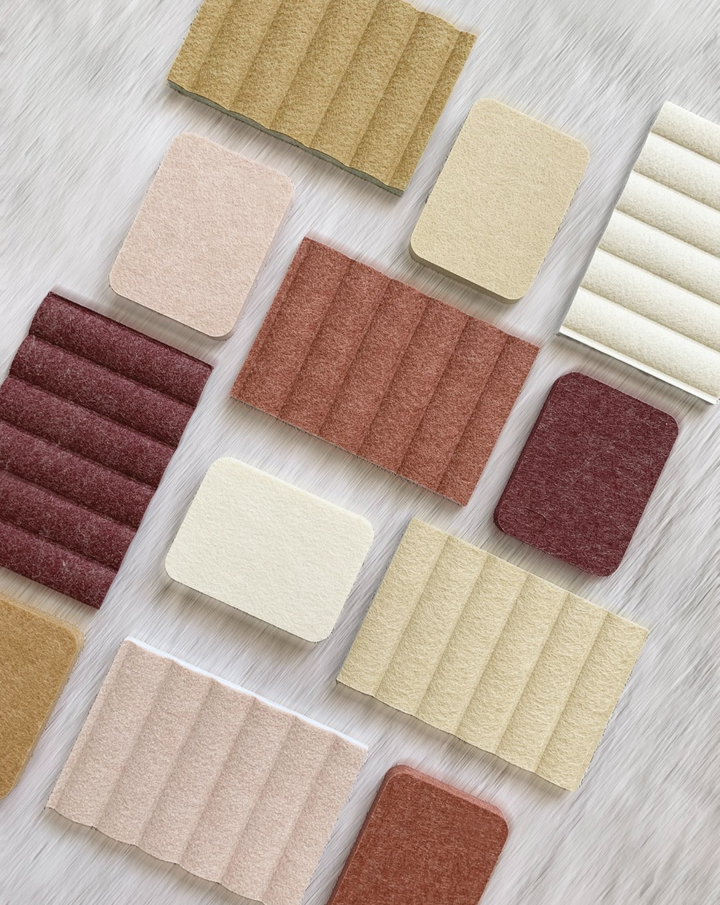
PET-seinapaneel (Woven Image EchoPanel®)
You cut a PET felt wall panel with a utility knife. It can be fixed with adhesive or screws directly to the wall, to a substructure or to an air-gap system. Installed with a 50 mm air gap, the 12 mm EchoPanel has a sound absorption of NRC 0,75. A large panel (for example 120 × 280 cm) is long to handle, so it is best installed by two people. See more on the Woven Image EchoPaneli lehelt.
Install it yourself or call a fitter?
Most of our customers install the panels themselves and pay only for the material. For example, the MDF Premium panel costs from €79,90 and covers 0,825 m². If the wall is very uneven, has many sockets or the panels go on the ceiling, calling a fitter can save time. If anything is unclear, Get in touch. We'll help with measurements, cutting and fixing.
Levinumad vead ribipaneelide paigaldamisel
- The panels are installed straight after delivery without letting them adjust to the room.
- The first panel isn't checked with a spirit level.
- The wall height is measured in only one place.
- With a jigsaw or circular saw the face side is up, so the edge splinters.
- Laes kasutatakse ainult liimi.
- The positions of sockets and the TV bracket aren't planned before installation.
Frequently asked questions
Can slat panels be installed on the ceiling?
Yes. On the ceiling, use screws in addition to adhesive.
Kas paneele saab liimida tapeedile?
We don't recommend it. The panel then holds only as well as the wallpaper sticks to the wall. Remove the wallpaper, or fix the panels with screws through the wallpaper into the wall.
Can the panel be removed later?
When a glued panel is removed, adhesive marks remain on the wall and it needs repairing. If you know you will want to take the panels down later, fix them with screws only.
How long does it take to install one wall?
For a DIY installer, a typical living room wall takes a few hours. Measuring and cutting around sockets and the TV take the most time.
Do slat panels reduce noise from the neighbours?
No. The panels absorb echo inside the room, but noise from the neighbours needs sound insulation. Read more in the article sound dampening, sound insulation and echo removal.
Choose your colour before you buy
Colours look different in your room than on screen. Order up to 5 free colour samples (you only pay for shipping) and see them in your own light. You'll find all panels in the tootekataloogist.